
Are you new to the world of cryptocurrency and looking for a user-friendly way to manage your digital assets? Look no further than Ledger Live! In this comprehensive tutorial, we’ll guide you through the ins and outs of Ledger Live, from downloading and setup to managing accounts, sending and receiving crypto, and even exploring advanced features like staking and swapping. Let’s dive in!
What is Ledger Live?
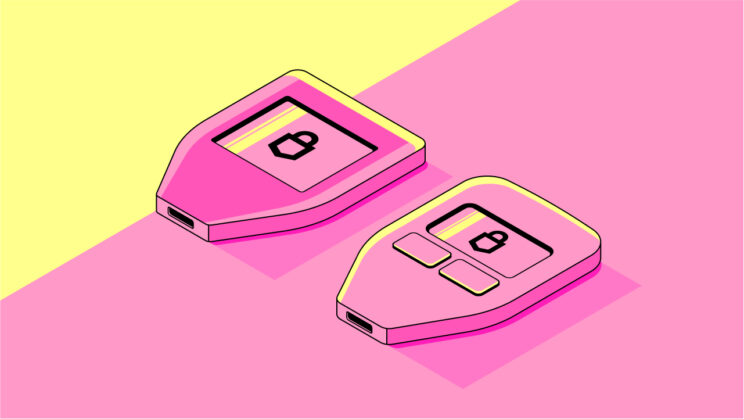
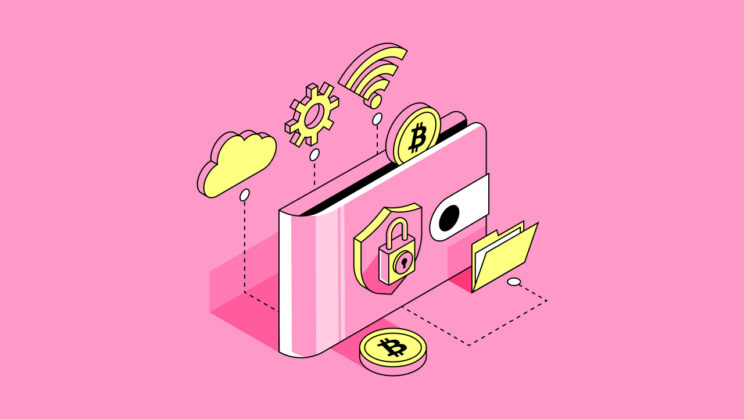
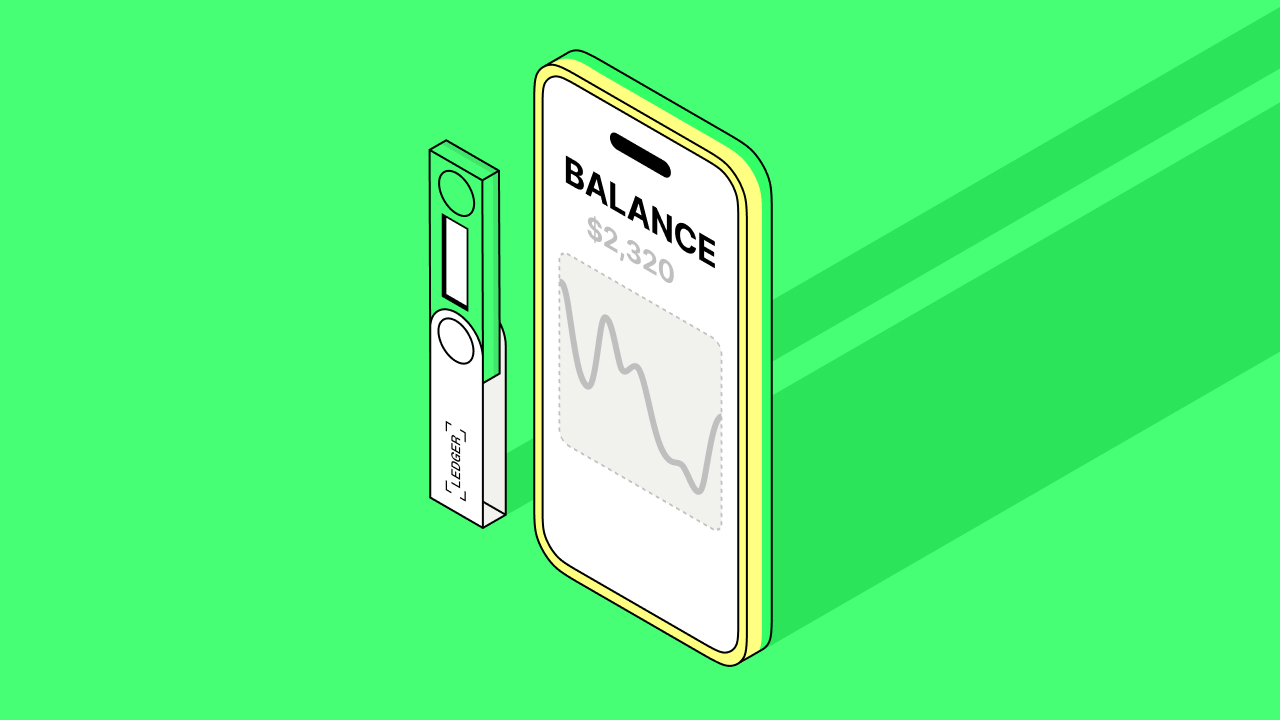
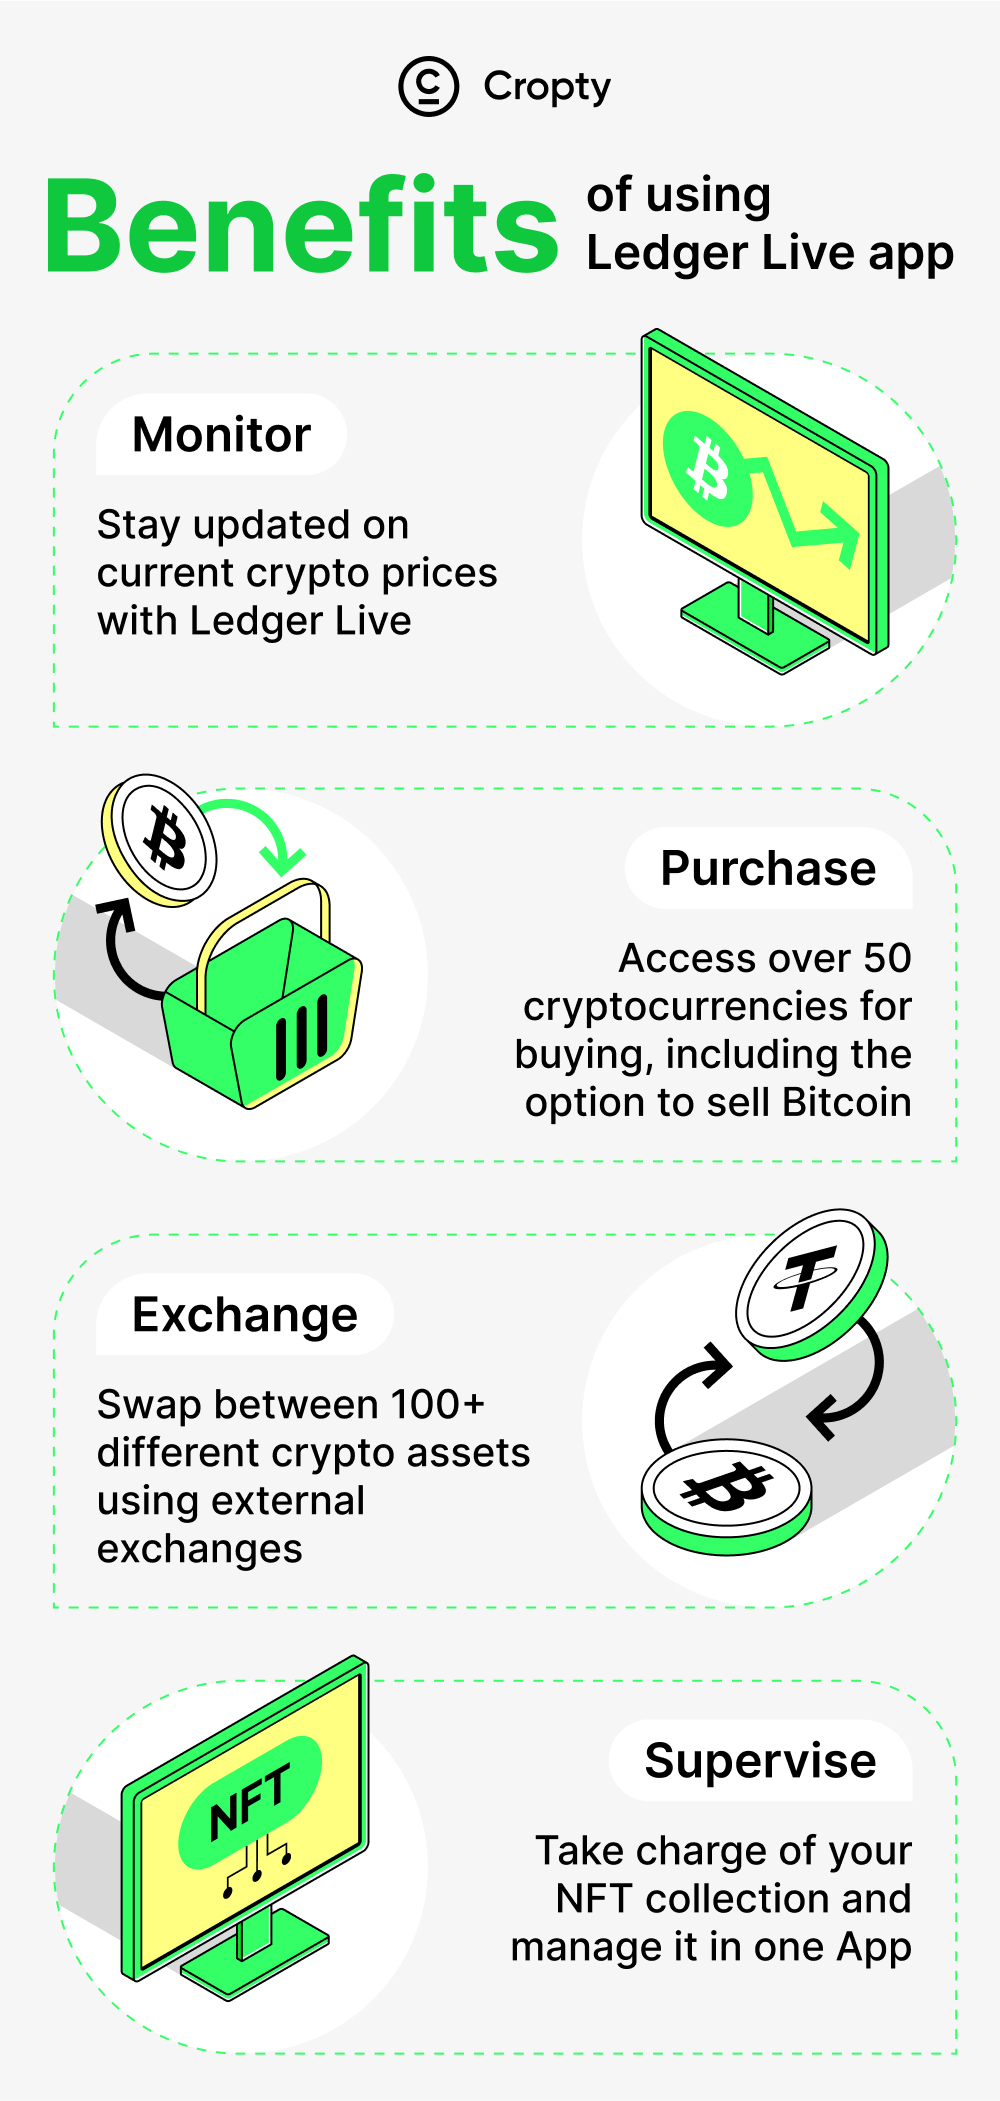
Ledger Live is a powerful application designed to simplify the management of your cryptocurrency assets. Whether you’re a beginner or an experienced crypto enthusiast, Ledger Live offers an intuitive interface that allows you to securely store, send, receive, and even trade various cryptocurrencies. Compatible with various Ledger Hardware devices, such as Nano S, Nano X, and more, Ledger Live ensures that your digital assets are always at your fingertips.
Downloading and Setting Up Ledger Live
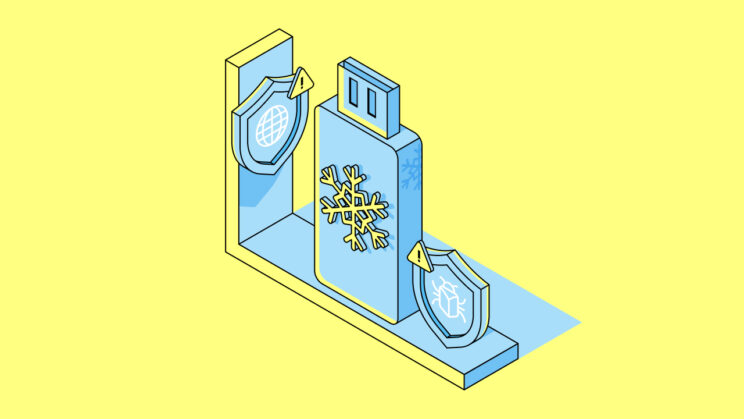
Before embarking on your Ledger Live journey, it’s of paramount importance to ensure the authenticity and security of the application. To safeguard your digital assets, it’s imperative to download Ledger Live solely from the official Ledger website. Be vigilant of counterfeit versions that might be lurking on various app stores, as they can potentially jeopardize the safety of your cryptocurrency holdings.
Step 1: Downloading Ledger Live
The initial step in this process is visiting the official Ledger website, which you can access through the link thoughtfully provided in the description below. Once there, navigate to the “Apps & Services” section to proceed with downloading the Ledger Live application tailored for your specific device. Depending on whether you’re utilizing a desktop or a mobile device, the corresponding version should be selected.
For those opting to use Ledger Live on their smartphones, a straightforward route is available through the respective app stores. Android users can easily acquire the app from the Google Play Store, while iOS users can find it on the Apple App Store.
Step 2: Setting Up Ledger Live
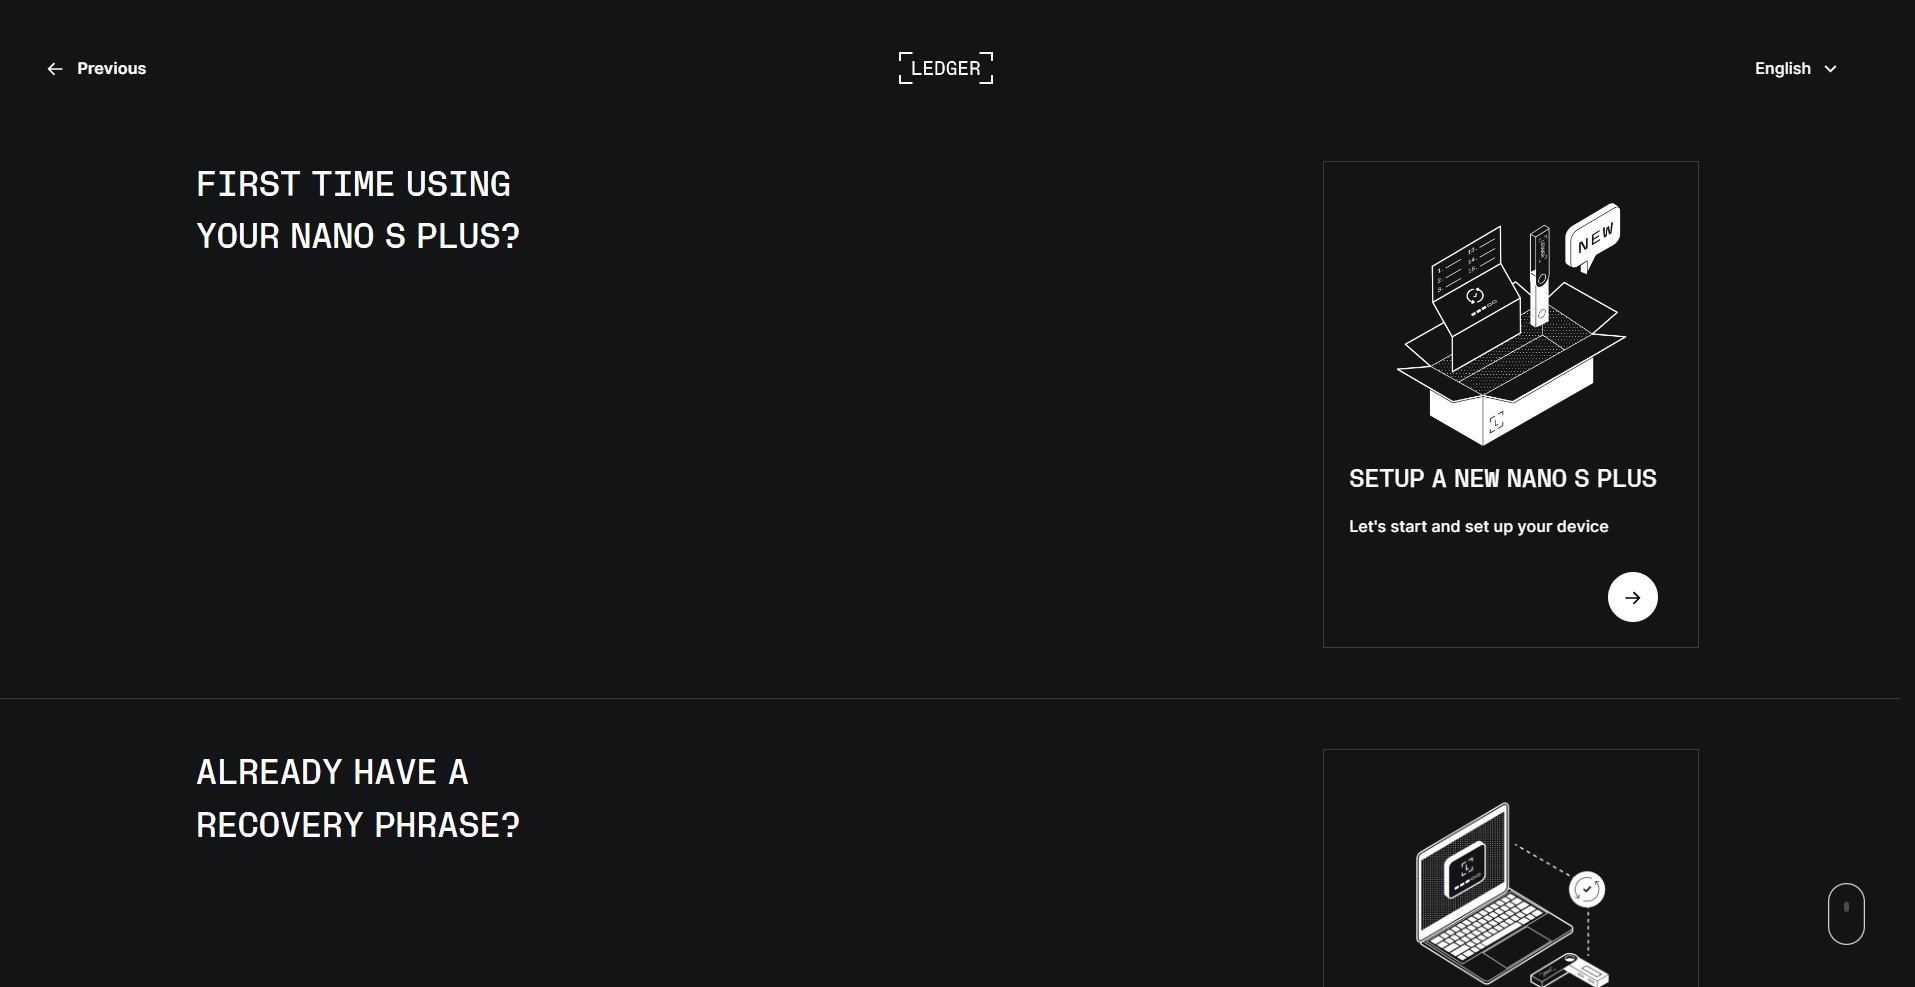
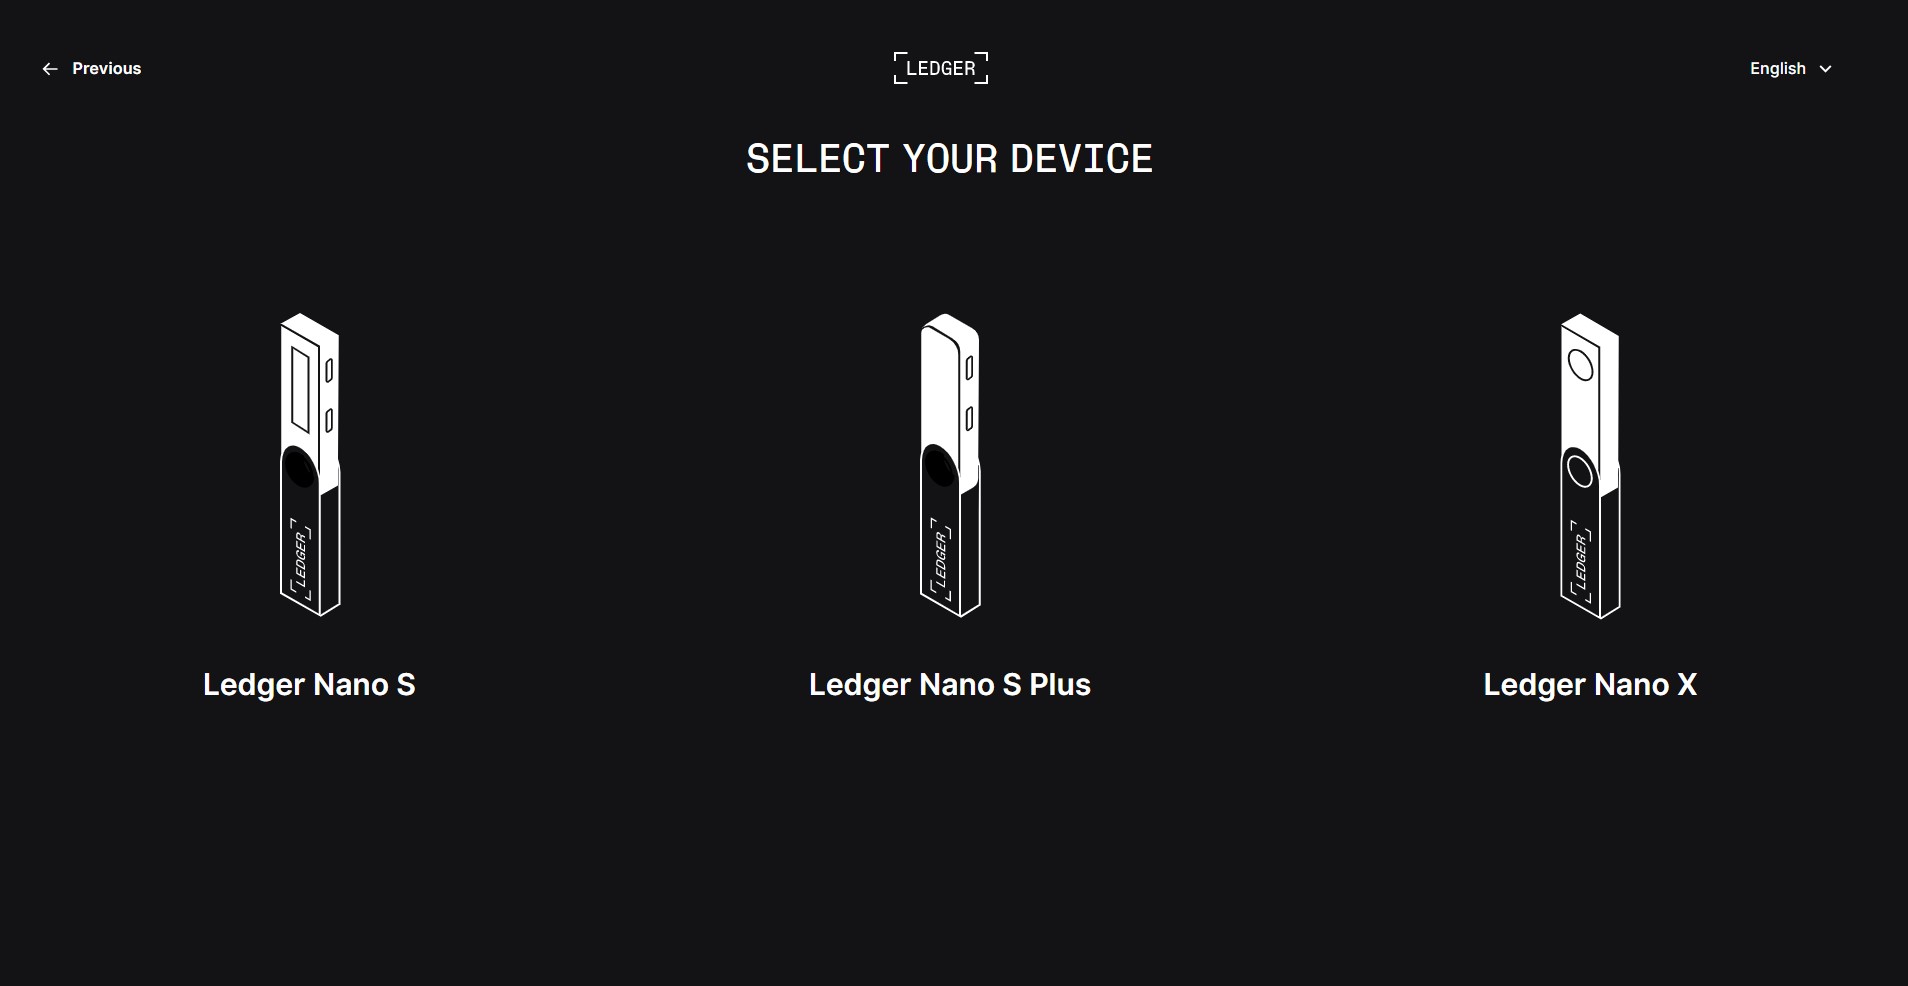
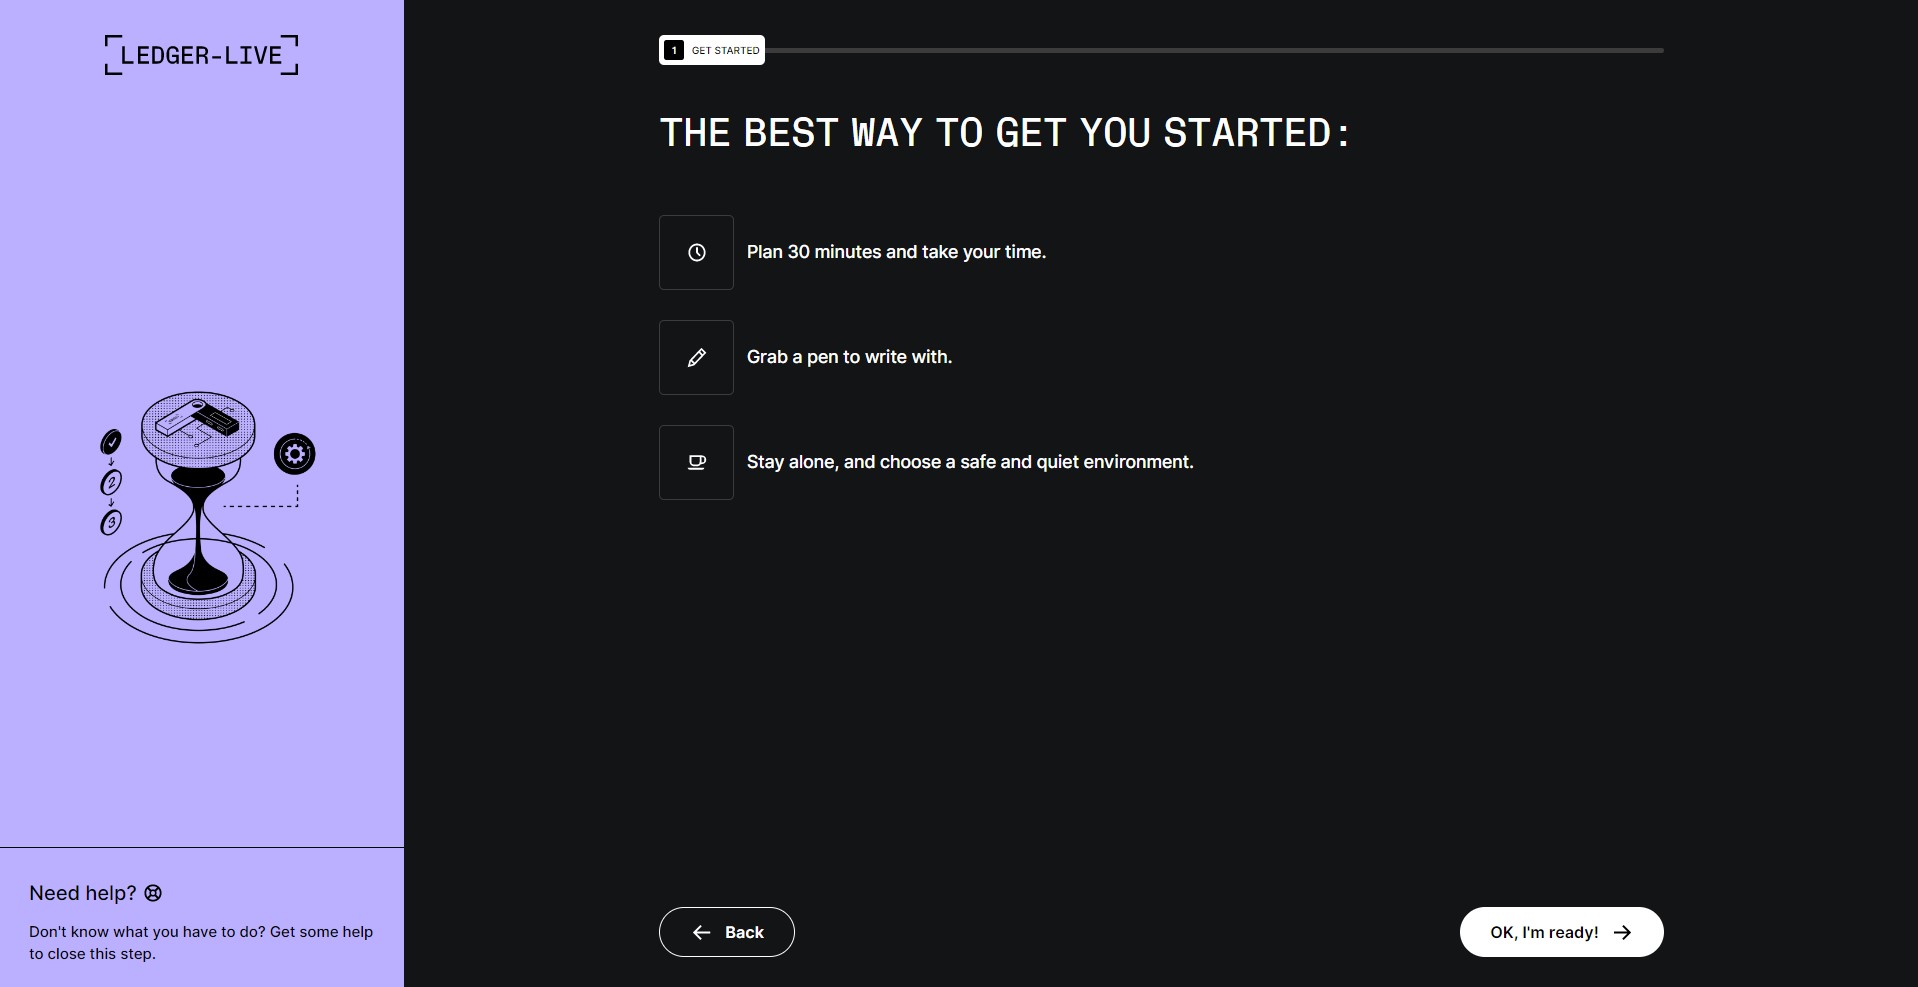
With the Ledger Live application successfully downloaded, it’s time to delve into the setup process. This entails connecting your Ledger Hardware device to your chosen computer or mobile device. Once the connection is established, launch the Ledger Live application to initiate the setup procedure.
Guided by the intuitive on-screen instructions, you’ll be prompted to specify your Ledger device model. Whether you’re utilizing a Nano S, Nano X, or any other model, make the appropriate selection to seamlessly integrate your device with the Ledger Live ecosystem.
Next comes the pivotal aspect of establishing a PIN code and a recovery phrase. These security measures are designed to fortify the protection of your cryptocurrency holdings. Your PIN code acts as a first line of defense against unauthorized access, while your recovery phrase serves as the ultimate lifeline for account recovery in unforeseen circumstances. Safeguarding this recovery phrase is of paramount importance, as it essentially holds the keys to accessing your digital wealth.
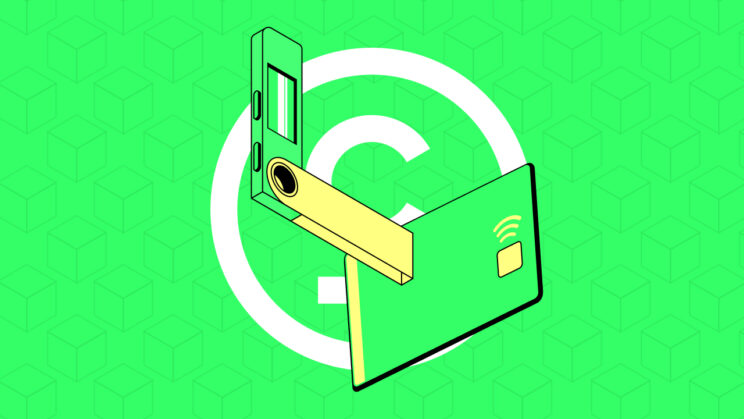
One additional layer of security involves verifying the authenticity of your Ledger hardware device through the Ledger Live application itself. This validation process ensures that the device you’re using is indeed genuine and free from any potential tampering or compromise.
Ledger Live Apps
One of the standout features of Ledger Live is its support for various applications that enable you to interact with different blockchain networks. You can easily add accounts, download apps for different blockchains, and manage your wallet addresses. These apps facilitate transactions and other activities on different blockchains.
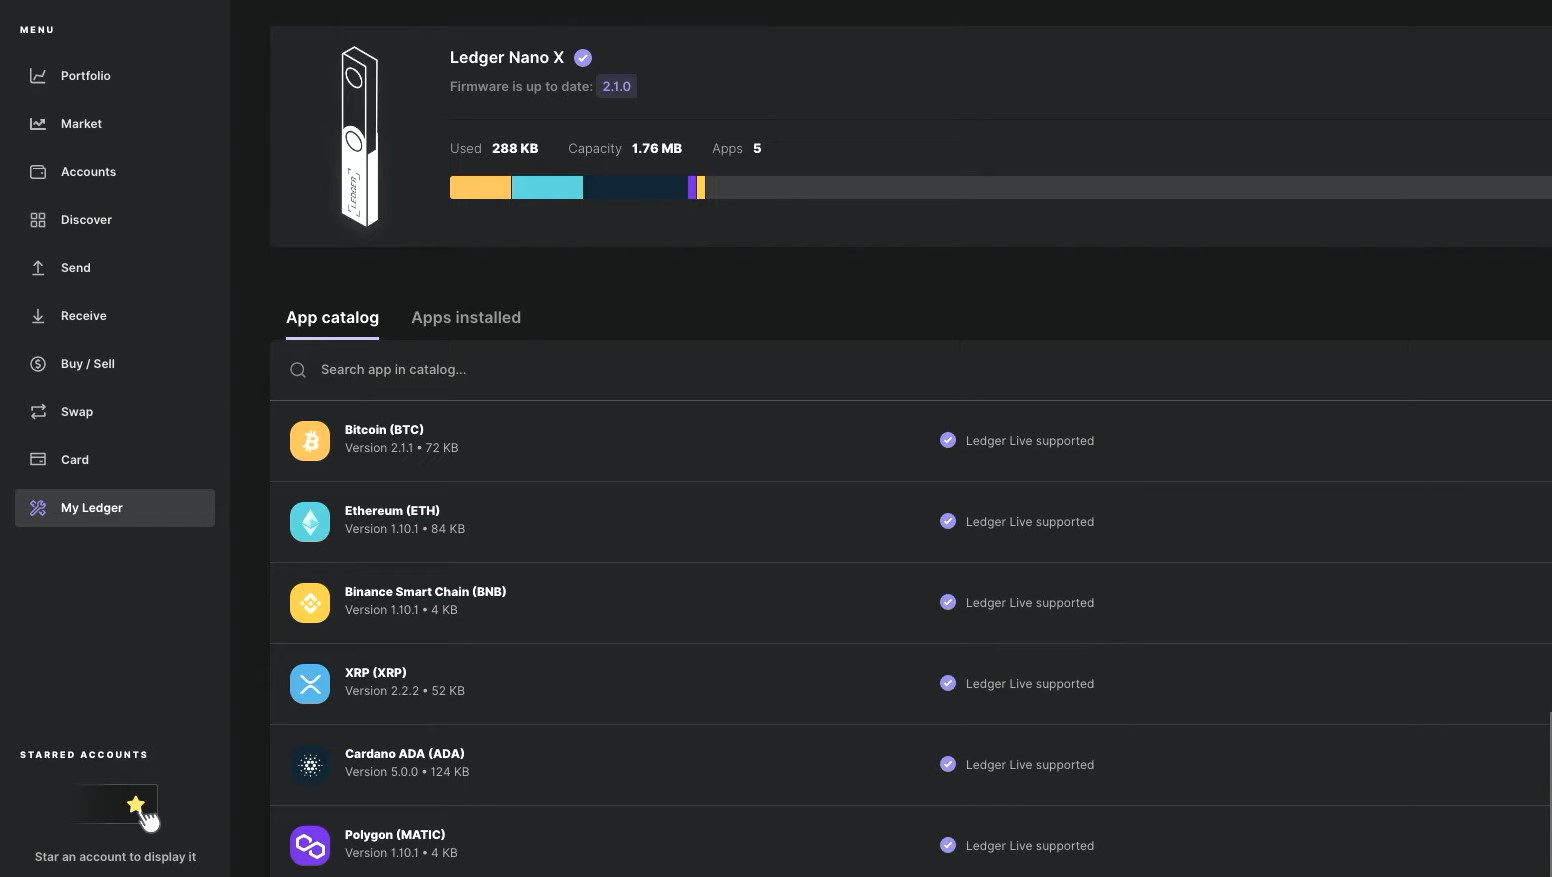
Adding Accounts and Downloading Apps
- Access the “Market” section within Ledger Live.
- Browse through the list of cryptocurrencies and their rankings.
- Use the “Buy” and “Swap” options to purchase and exchange crypto directly within Ledger Live.
- To add an account for a specific blockchain, navigate to “My Ledger” and select your Ledger Hardware device.
- Install the apps associated with the blockchains you want to interact with, such as Bitcoin, Ethereum, and more.
- Manage your installed apps by deleting them or installing new ones as needed.
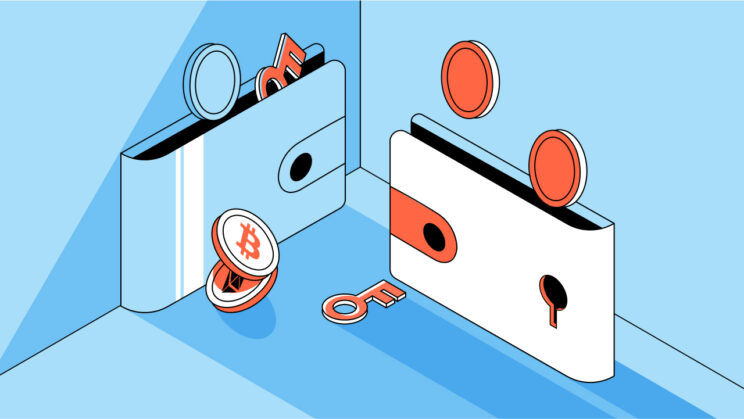
Ledger Live Accounts
In the dynamic realm of cryptocurrency management, Ledger Live emerges as a versatile tool that not only safeguards your digital riches but also empowers you to orchestrate your crypto portfolio with precision. One of its standout features lies in its capacity to facilitate the creation and management of multiple accounts, akin to different chambers within a grand vault, all ensconced within a single wallet. These accounts, akin to specialized compartments, harbor their own unique wallet addresses, bestowing upon you a level of granularity and organization that transcends the conventional.
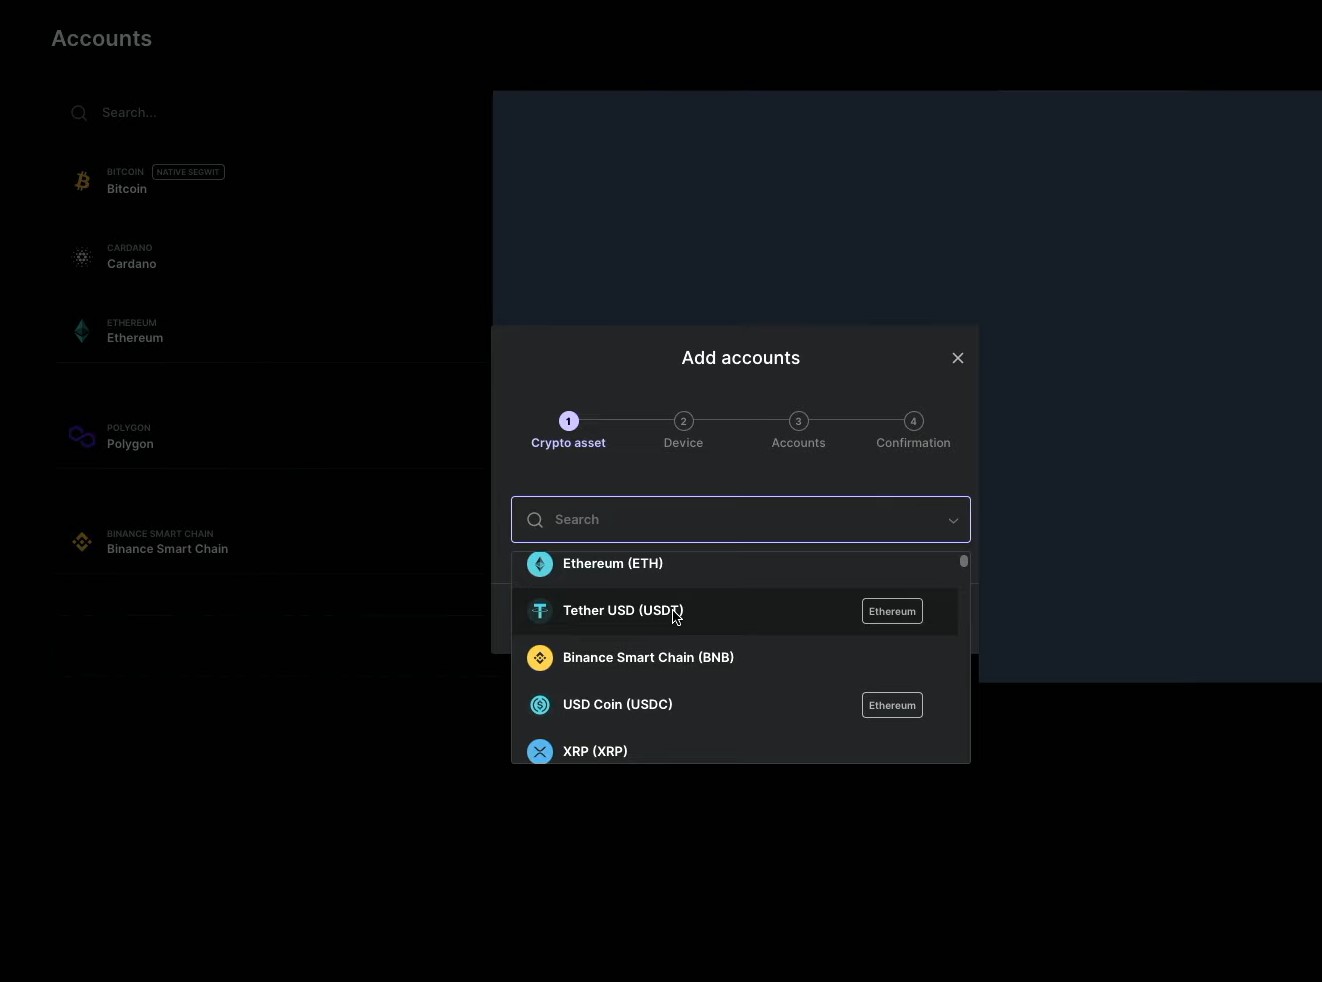
Creating and Managing Accounts
- Embark on the Path: To unlock the potential of multiple accounts, you journey to the heart of Ledger Live—the “Accounts” section. Herein lies the gateway to orchestrating your cryptocurrency universe in a meticulously structured manner.
- The Genesis of an Account: Initiating the creation of a new account is as simple as orchestrating a symphony. With a click of the “Add Account” button, a world of possibilities unfolds before you. Imagine you are sculpting a masterpiece; you select the blockchain you wish to craft your account within—whether it’s the venerable Bitcoin or the dynamic Ethereum.
- The Dance of Setup: As you tread further, the prompts guide you through the setup process. Like a virtuoso composer, you tailor your account with a unique wallet address, crafting a distinct resonance within the vast crypto chorus.
- Multiplicity Within: The beauty of Ledger Live’s architecture lies in its capacity to house multiple accounts within a single blockchain. Just as an artist employs a palette of colors to evoke diverse emotions, you can create accounts for myriad purposes—some for spending, others for the preservation of your crypto treasures.
- Toggling Dimensions: Ledger Live further empowers you with the ability to toggle accounts on or off, akin to spotlighting a select section of an artwork or dimming it into obscurity. This feature enables you to curate your view, ensuring your portfolio’s complexities are revealed or hidden with a deft touch.
- Customization Unleashed: Much like a tailor customizes attire to one’s specifications, Ledger Live provides a suite of account management options. You can fine-tune the experience, adapting it to your preferences and needs, making each interaction with your crypto canvas a reflection of your individuality.
Toggling Spam
As a cryptocurrency holder, you might encounter unwanted tokens or NFTs that clutter your wallet address. This is often referred to as “spam.” Ledger Live allows you to hide these tokens and collections from your view for a cleaner interface.
Hiding Tokens and NFT Collections
- Access your specific blockchain account within Ledger Live (e.g., Ethereum).
- Identify unwanted tokens or NFT collections.
- Choose to hide specific tokens or NFT collections to declutter your view.
- Hidden items remain in your wallet address but are not displayed within Ledger Live.
Receiving Crypto using Ledger Live
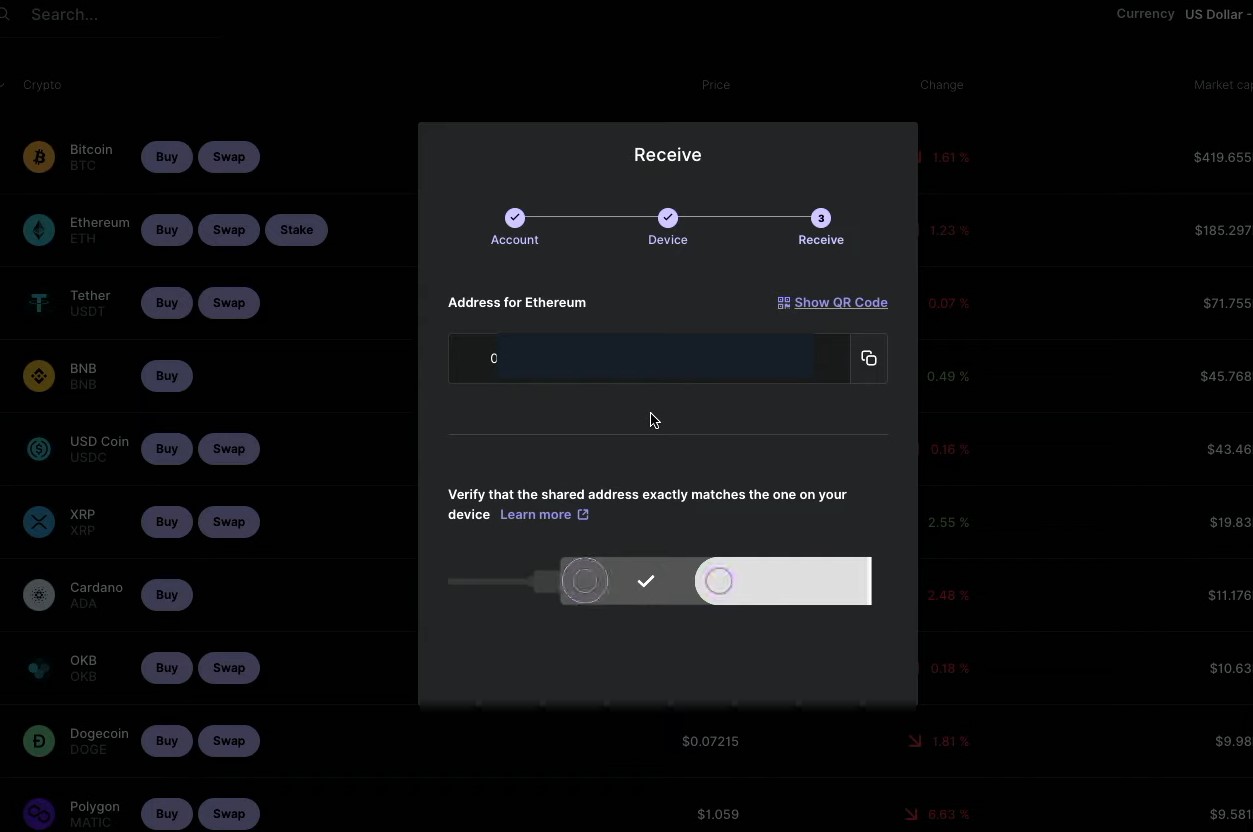
Receiving crypto involves obtaining a wallet address from your Ledger device that you can share with others so they can send you funds. Here’s a step-by-step guide:
- Download and Install Ledger Live: If you haven’t already, download the official Ledger Live app from the Ledger website. Avoid third-party sources to ensure security.
- Set Up Ledger Device: Plug in your Ledger hardware device to your computer and follow the setup process. Ensure you have the appropriate PIN code and recovery phrase set up.
- Open Ledger Live: Launch the Ledger Live app on your computer.
- Connect Ledger Device: Make sure your Ledger device is connected to your computer and unlocked with your PIN code.
- Navigate to Accounts: In the Ledger Live app, navigate to the “Accounts” section. Here, you’ll see a list of your wallet addresses for different cryptocurrencies.
- Choose a Crypto to Receive: Select the cryptocurrency you want to receive. Let’s say you want to receive Bitcoin.
- Generate a Receiving Address: Click on the “Receive” button within the Bitcoin account. A new window will appear with a QR code and a wallet address.
- Verify on Ledger Device: On your Ledger device, you’ll be prompted to confirm the address generation. Verify that the address displayed on your Ledger device matches the one shown in Ledger Live.
- Share the Address: You can either share the QR code or copy the wallet address to receive crypto from others. Make sure you share the correct address for the specific cryptocurrency you’re receiving.
Sending Crypto using Ledger Live
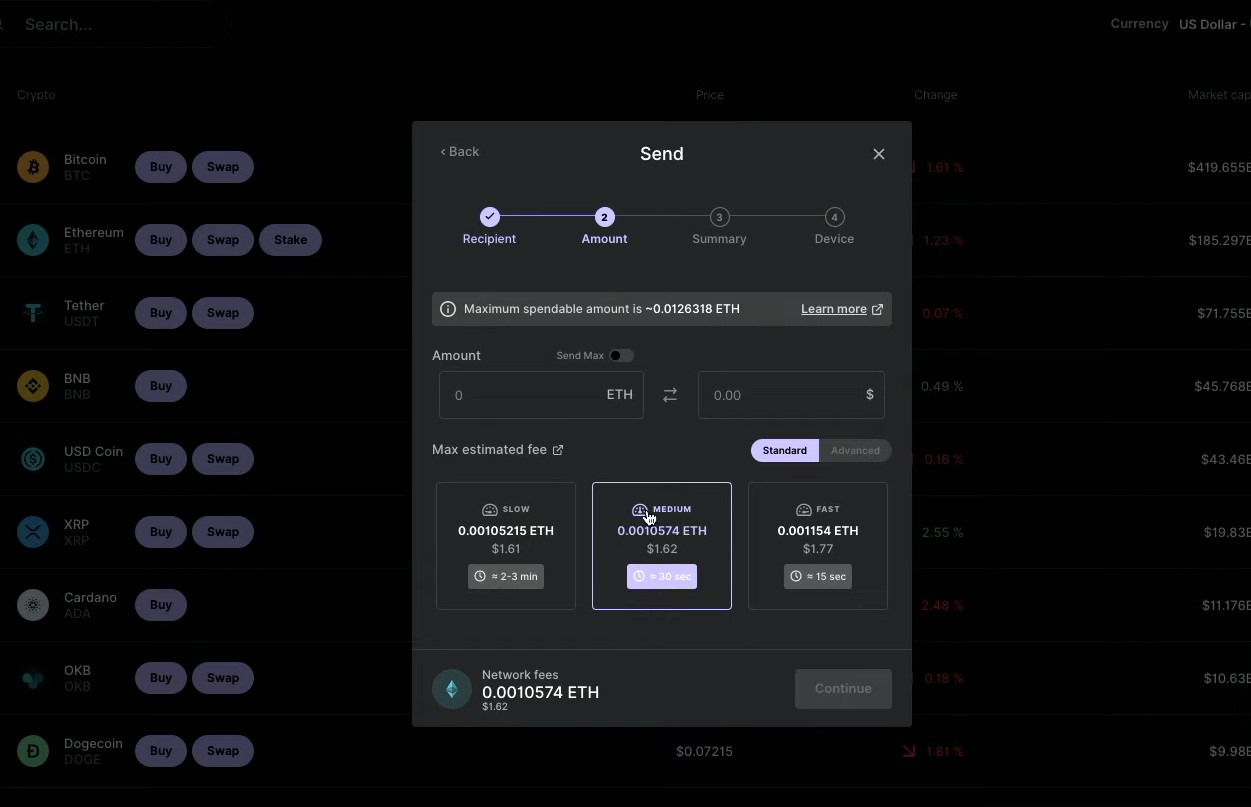
Sending crypto involves initiating a transaction from your Ledger device to another wallet address. Here’s a detailed guide:
- Open Ledger Live: Launch the Ledger Live app on your computer.
- Connect Ledger Device: Plug in your Ledger hardware device to your computer and unlock it with your PIN code.
- Navigate to Accounts: Go to the “Accounts” section in Ledger Live.
- Choose a Crypto to Send: Select the cryptocurrency you want to send. For instance, if you want to send Ethereum, click on the Ethereum account.
- Click on Send: Within the selected account, click on the “Send” button.
- Enter Recipient Address: Paste or scan the wallet address of the recipient. Ensure the address is accurate and matches the intended recipient.
- Enter Amount: Specify the amount of crypto you want to send. Double-check this amount, as crypto transactions are irreversible.
- Choose Network Fees: You’ll have the option to select network fees. These fees determine the transaction speed. Higher fees result in faster confirmation.
- Verify on Ledger Device: Your Ledger device will display transaction details. Verify the recipient address and the amount on your Ledger device.
- Confirm Transaction: If all details are correct, press the confirmation buttons on your Ledger device to authorize the transaction.
- Transaction Broadcast: Ledger Live will finalize the transaction and broadcast it to the blockchain. You’ll receive a confirmation once the transaction is included in a block.
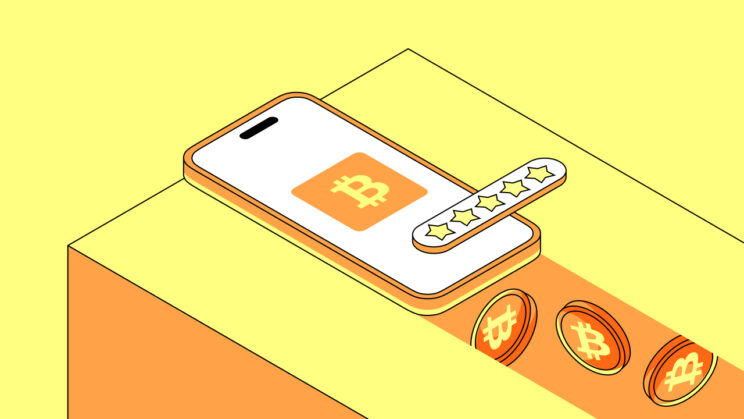
Buy, Sell, Swap, and Staking
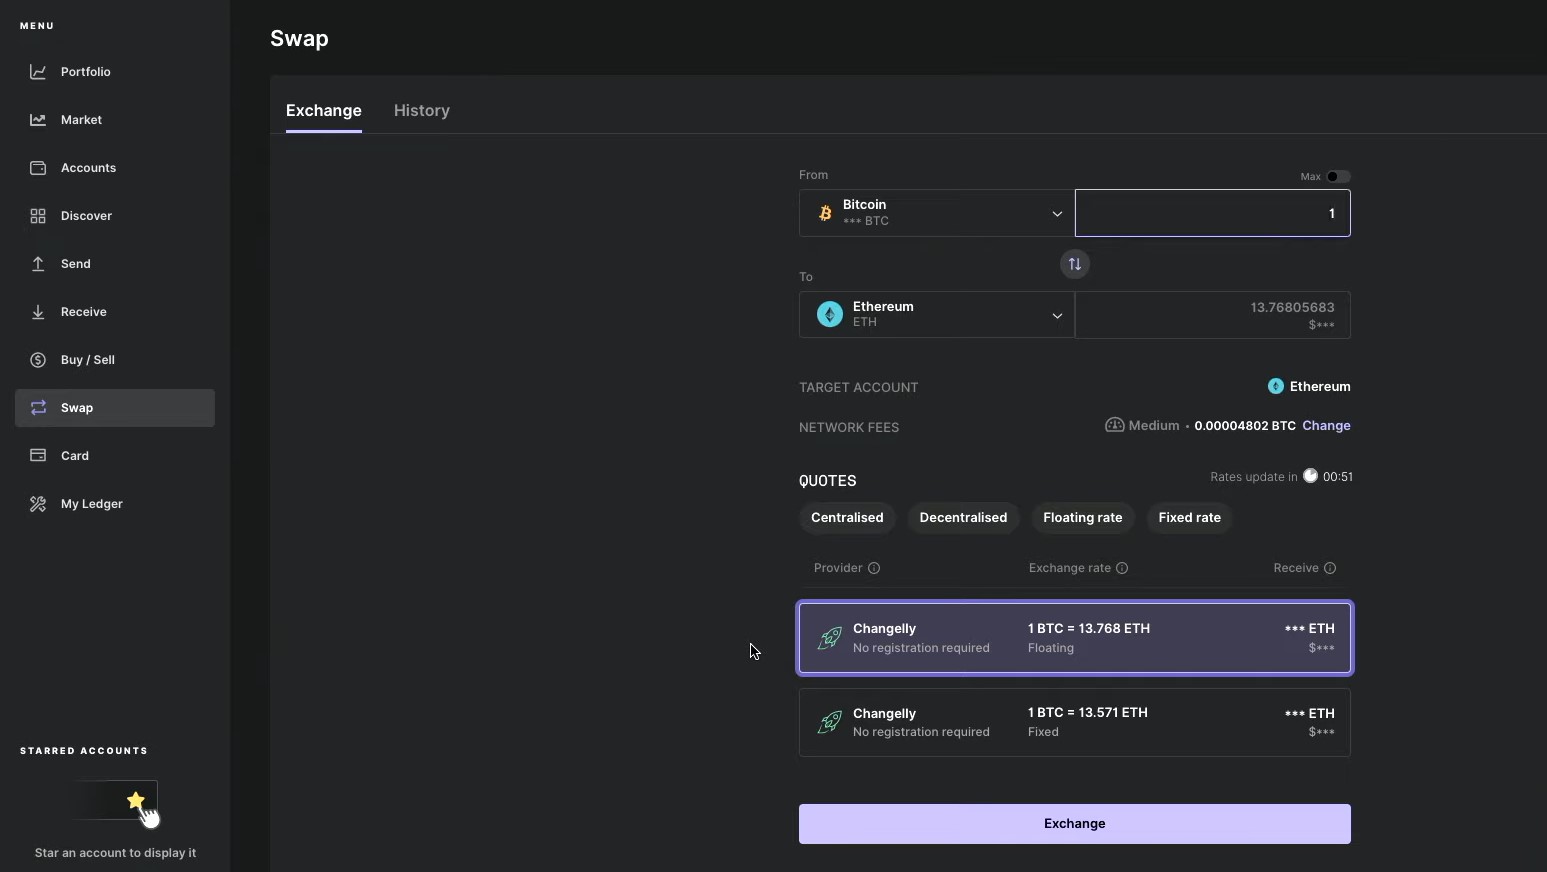
In addition to managing your crypto holdings, Ledger Live provides options for buying, selling, swapping, and even staking your digital assets.
Buying, Selling, and Swapping Crypto
- Access the “Buy & Sell” section in Ledger Live.
- Choose a cryptocurrency to buy, sell, or swap.
- Select a payment provider and follow the prompts to complete the transaction.
Staking Crypto
- Access the “Stake” section in Ledger Live.
- Choose a supported cryptocurrency (e.g., Ethereum) that you want to stake.
- Follow the steps to stake your assets using a supported staking provider.
Ledger Live Mobile
You can extend the functionality of Ledger Live to your mobile device for added convenience and accessibility.
Setting Up Ledger Live Mobile
- Download the Ledger Live mobile app from the official app store (links provided in the description).
- Link your Ledger Hardware device to the mobile app using Bluetooth (Nano X only) or cable connection (Nano S Plus).
- Import your wallet accounts to your mobile device for a synchronized experience.
Sending and Receiving Crypto on Mobile
- Use Ledger Live mobile to send and receive cryptocurrency just like on the desktop version.
- Access your accounts, view balances, and manage transactions seamlessly.
Conclusion
Ledger Live is a game-changer for managing your cryptocurrency assets with ease and security. From setting up your Ledger Hardware device to exploring advanced features like staking and swapping, Ledger Live empowers you to take control of your digital wealth. By following this tutorial, you’ll be well-equipped to navigate the world of Ledger Live and make the most of its powerful capabilities. Start managing your crypto journey with confidence today!